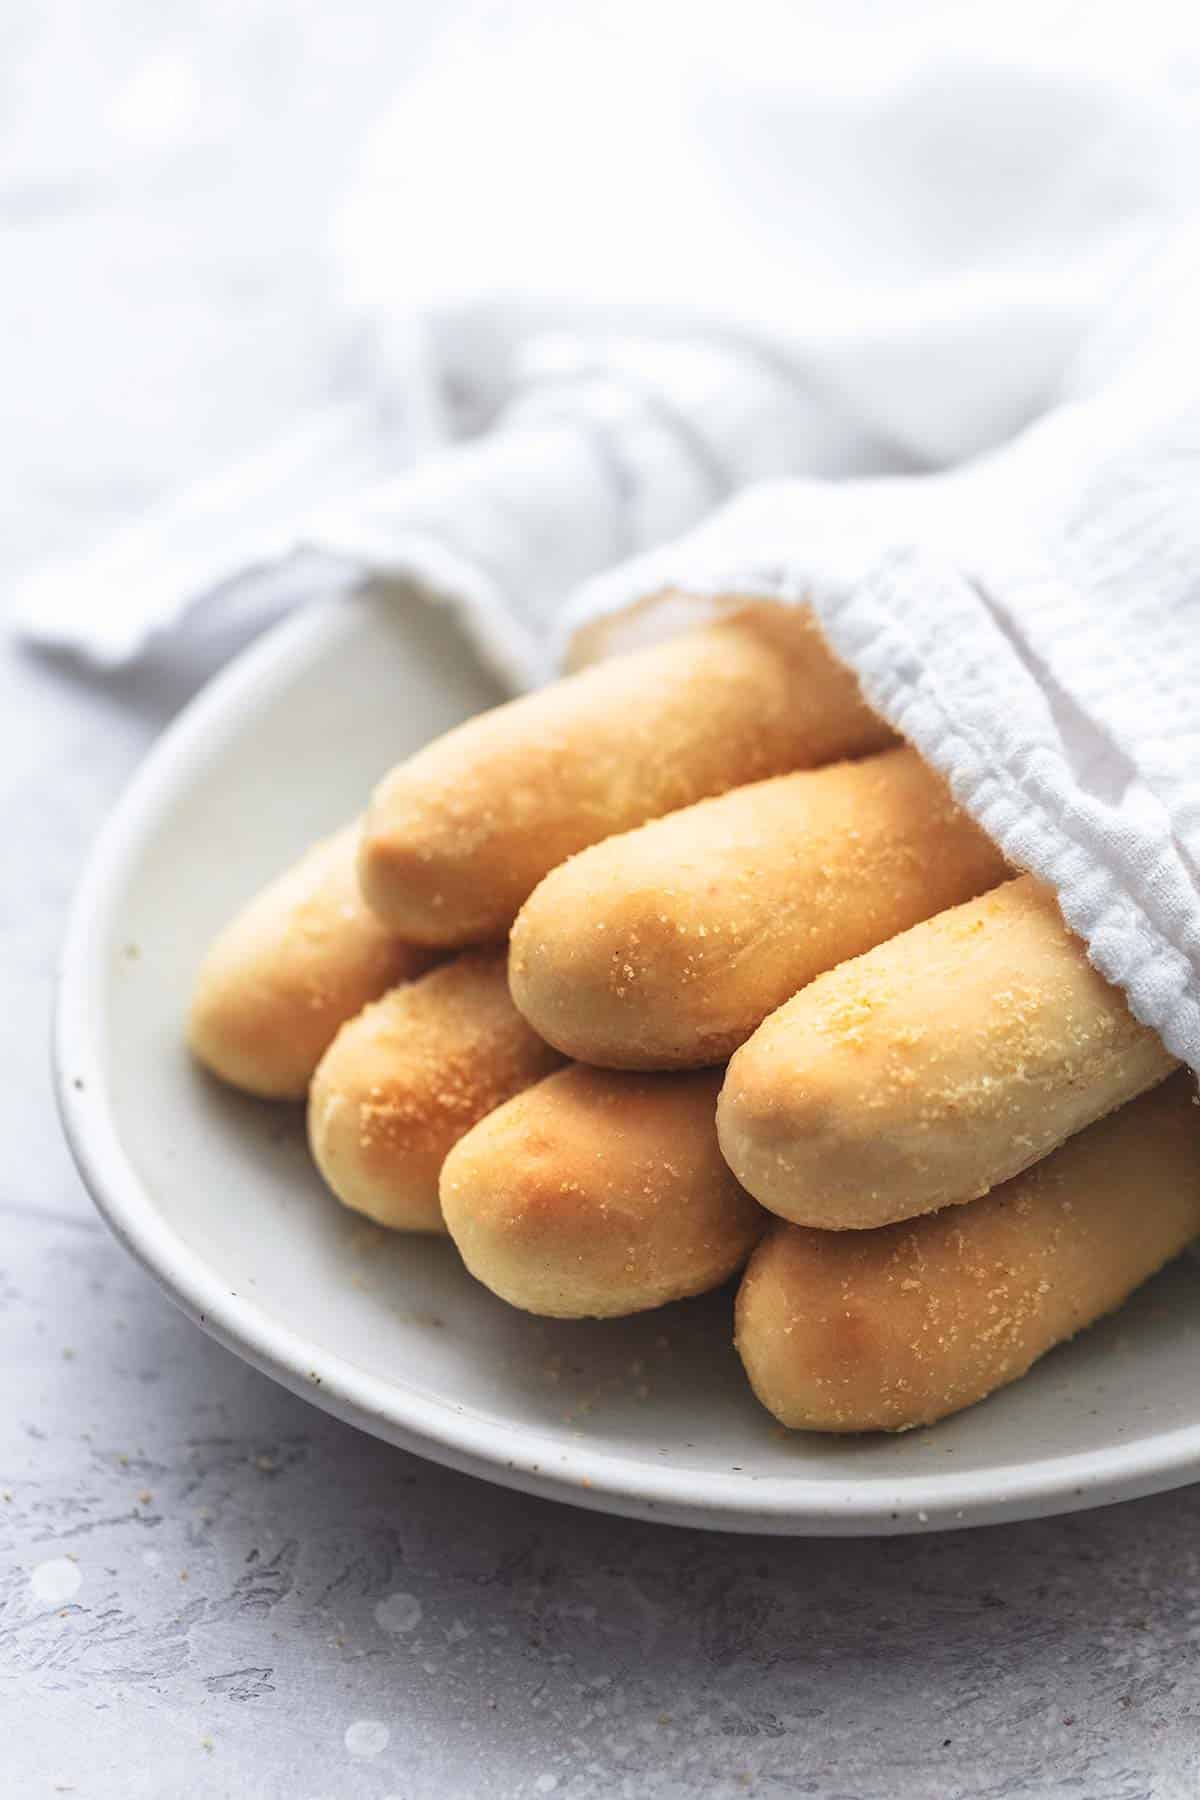
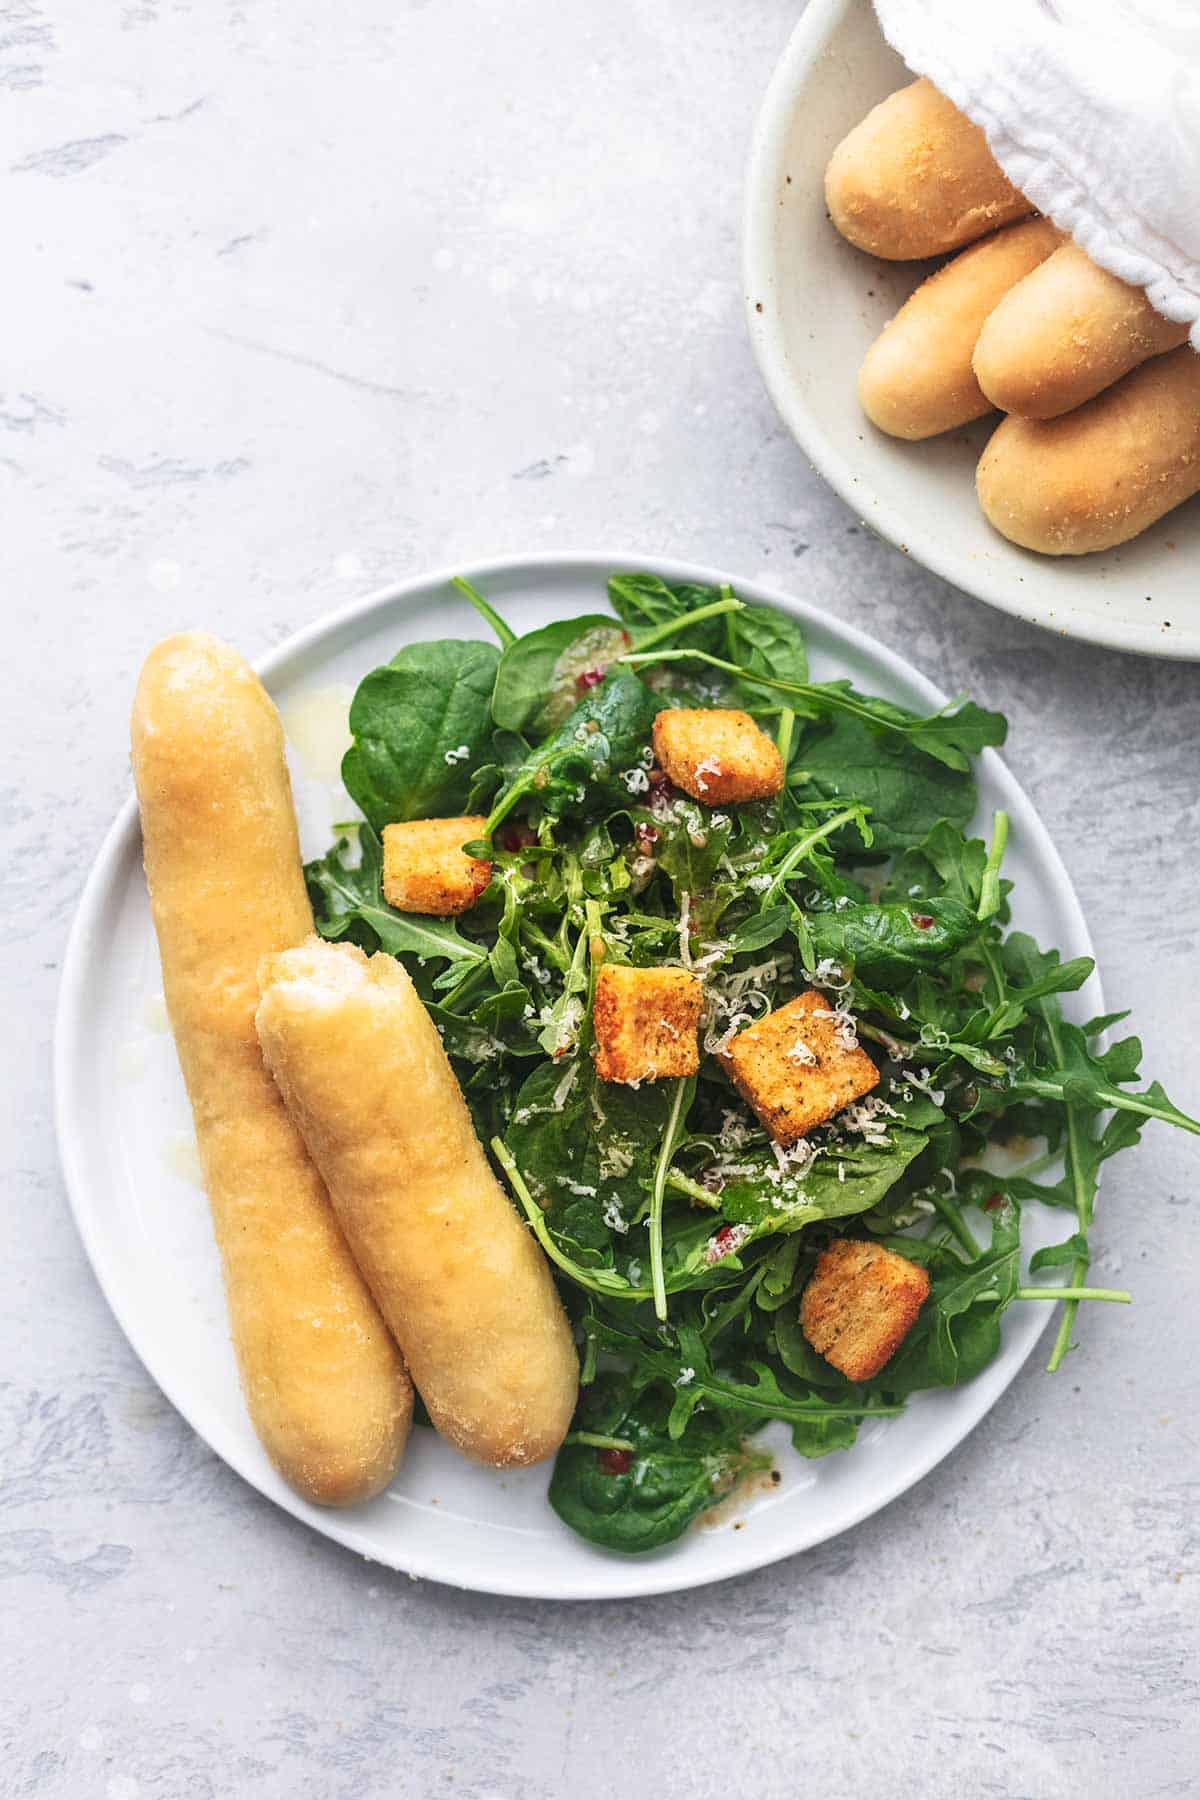
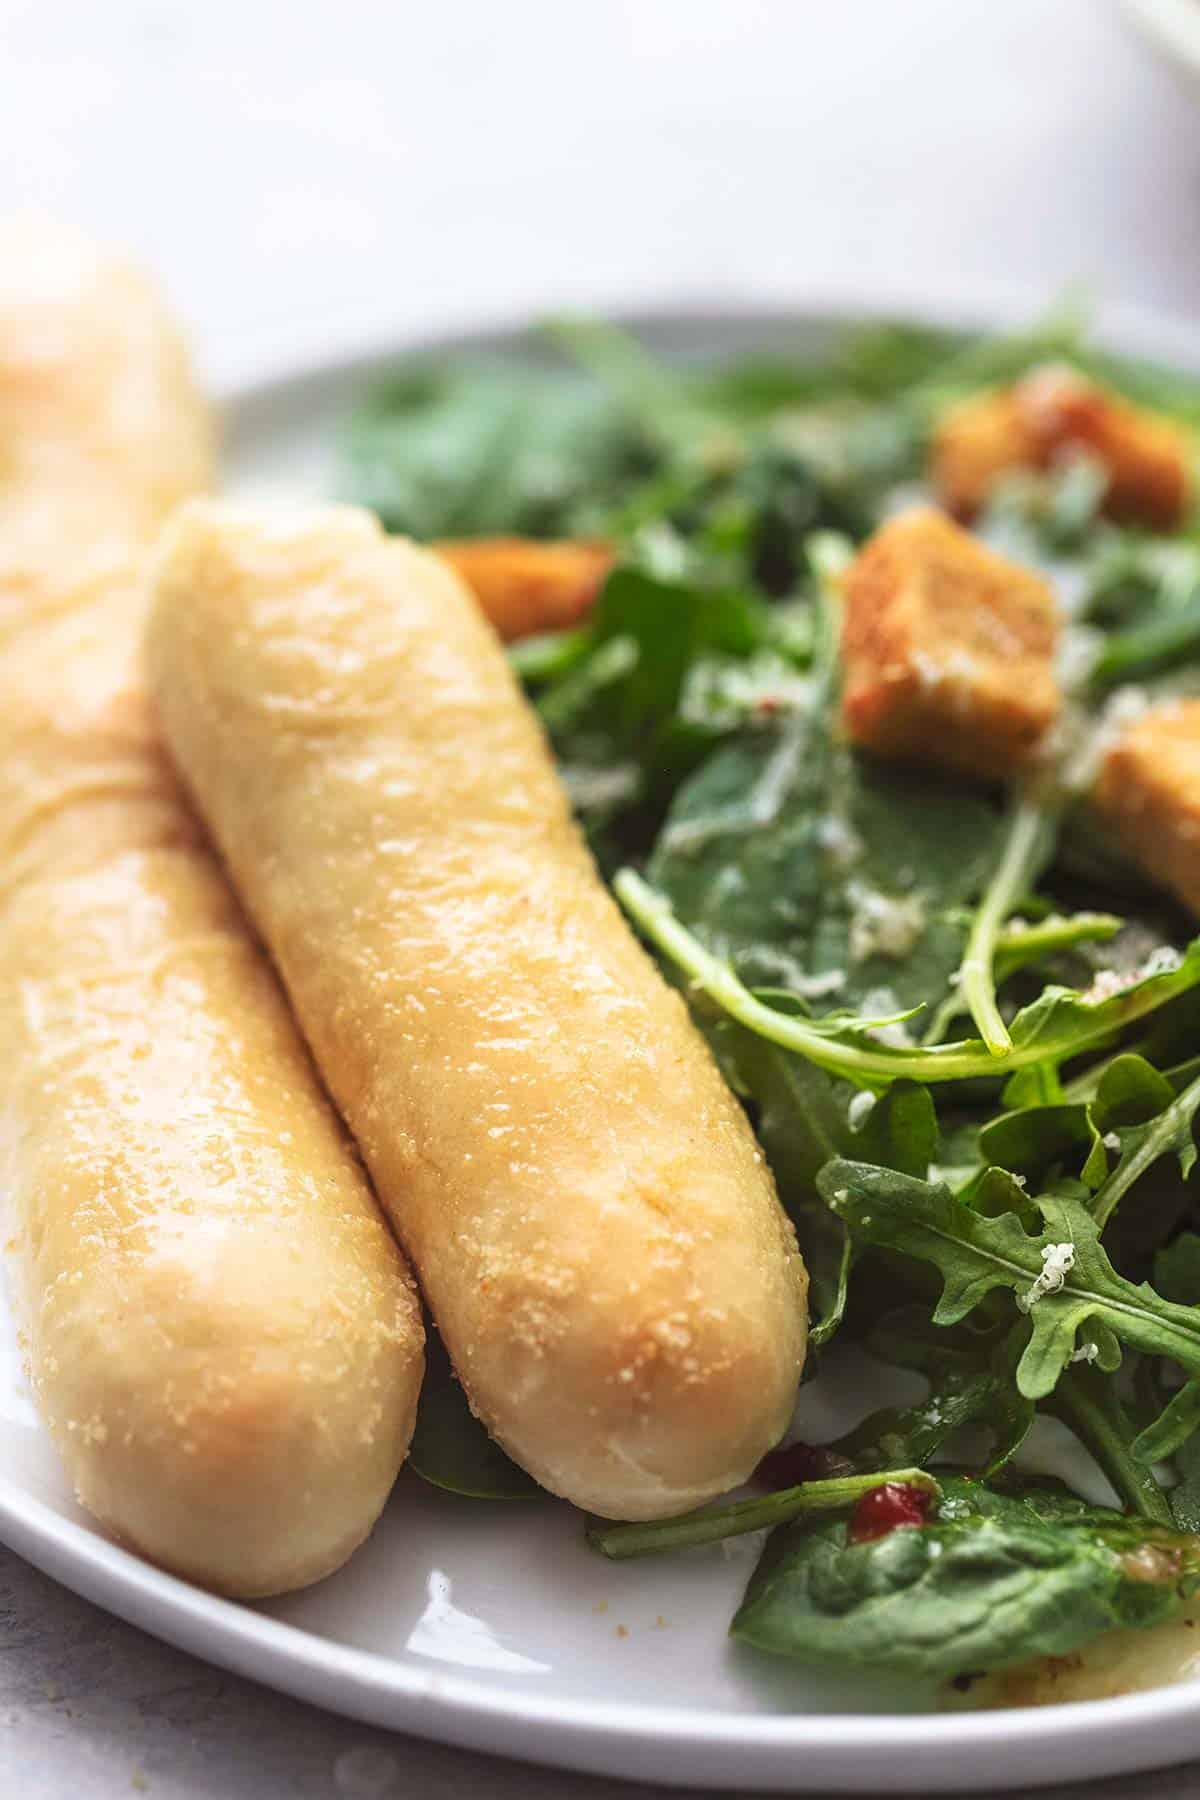
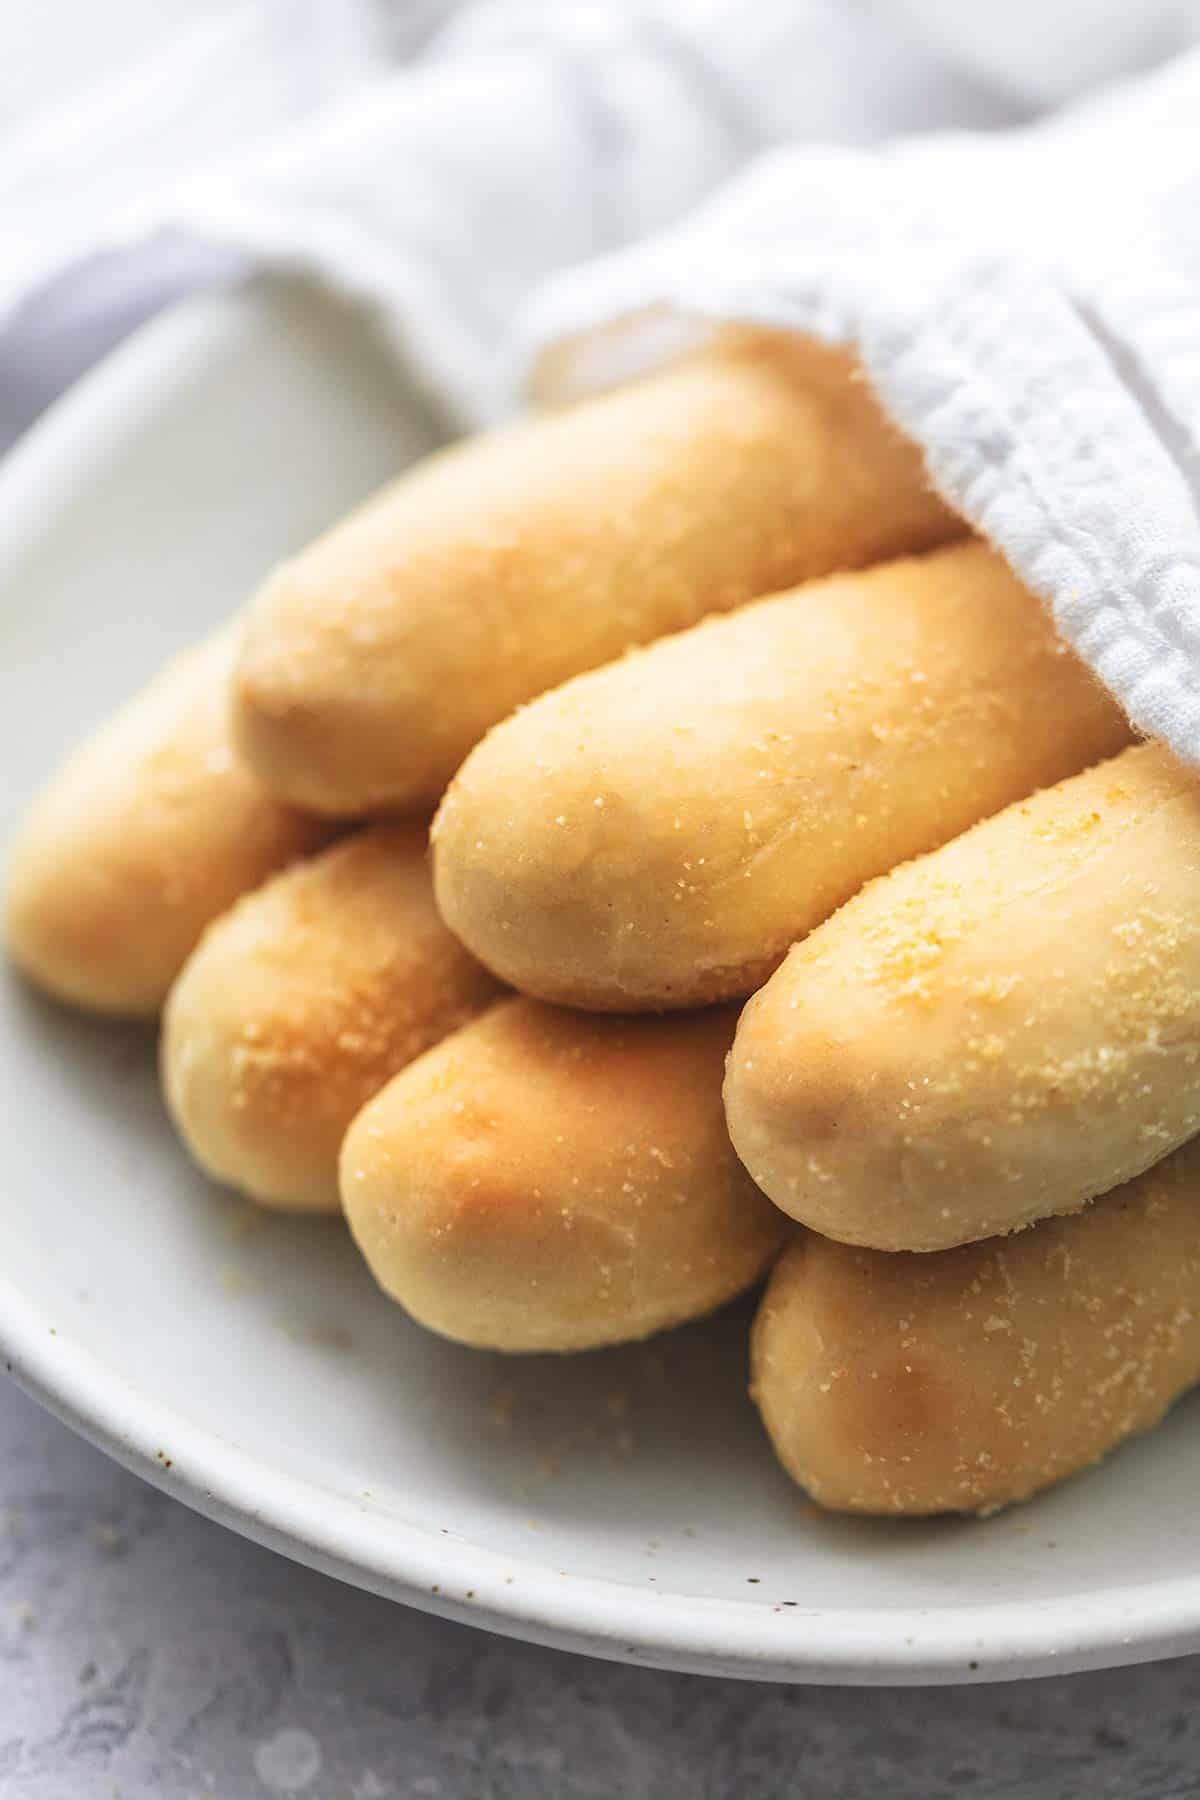
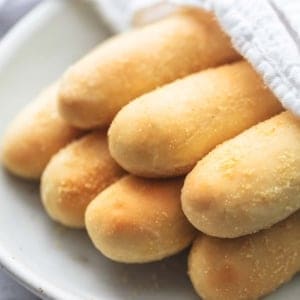
Olive Garden Breadsticks
This post may contain affiliate links. Please read our disclosure policy.
Olive Garden Breadsticks are the perfect accompaniment to any dinner. A little sweet, a little garlicky, buttery, and so melt-in-your-mouth tender, not to mention so easy to make and bake in just 25 minutes!
For more great copycat restaurant recipes like this one, try my Olive Garden Zuppa Toscana Soup, Olive Garden Chicken Gnocchi Soup, Copycat Olive Garden Salad and Dressing, or my Red Lobster Cheddar Bay Biscuits.
Is there such a thing as bread lovers anonymous? If so, I am fairly certain I need to become a member. “Hi, my name is Tiffany, and I am a carboholic.” And not just any carbs…I’m talking breads, especially the homemade kind. Especially the easy-to-eat-10-of-and-not-really-notice-kind. Like rolls, biscuits, (for a great roll recipe, try my Best Easy Crescent Rolls Recipe and for a biscuit recipe check out my Easy Buttermilk Biscuits), and these amazing breadsticks!
I almost always double this recipe because, let’s face it, I can eat a single batch myself. And, that’s kinda rude I suppose to do to the kids and husband, so, I must make one batch for me, and one for them. I mean, a whole breadstick is basically like one pretzel right? Samsies.
If you’re like me and want all the bread, then this recipe is for you. Even if you have self-control this recipe is for you, too. (Also, tell me your secret.)
Here’s How You Make It
- Turn that oven to preheat to 400 degrees while you prepare the rest of the ingredients.
- In a large bowl, stir together the water, yeast, and honey or sugar. Let it rest for 10 minutes to let the yeast have time to activate in the hot water and sweet stuff. It should rise and foam while it activates.
- Then, stir in 2 cups of flour, the olive oil, and salt to the yeast mixture. Gradually whisk in more of the flour (about 1 ½ to 2 cups) until you have a soft, shaggy dough.
- Dust your hands with some flour and get the dough out of the bowl and turn it out onto a floured surface, kneading for another 2-3 minutes.
- Put the dough back in a greased bowl, cover with a towel, and let it rise for another 10 minutes. Once it has risen, divide the dough into two halves. Then divide each half in half again and again until you have 16 equal-sized balls of dough.
- Roll each ball into a log about 10 inches long and put them 2 inches apart on a greased baking sheet. Put them in the oven for 5 minutes. While they’re baking, stir together the melted butter and garlic powder.
- Pull this Olive Garden breadsticks recipe out of the oven and brush with half the garlic butter. Return to the oven for 6-8 minutes to bake until they are golden brown. Pull them at this point as they will continue to bake a little even after you’ve taken them out of the oven.
- Brush with the rest of the garlic butter and eat up!
Frequently Asked Questions
Yes, you can just buy Olive Garden breadsticks. You can eat them at the restaurant or order them for carryout.
But, let’s say you want them RIGHT NOW or you can’t get to the store for some reason or it’s closed, or you want to save money and make them yourself? All good reasons to make your own and use this easy breadsticks recipe!
Have them whenever you want and as many as you want by making them yourself. You will regret nothing! (And save money and time!)
Yes, you can freeze these breadsticks one of two ways:
Freeze the dough. That’s right, make the dough all the way through splitting them into 16 balls. Freeze them in a single layer on a baking sheet before stacking into an airtight bag and storing in the freezer. Dough will keep frozen up to 3 months. When you’re ready to thaw, take the bag out of the oven and let the dough thaw in a warm, dry place. Then roll into breadsticks when the bread has warmed up and bake as instructed.
Freeze the cooked breadsticks. To freeze this easy breadsticks recipe, allow the bread to cool all the way to room temperature. Then, wrap the breadsticks tightly in aluminum foil then put in a heavy-duty, airtight freezer bag. They will keep for about 3 months. Thaw at room temperature and then put in the oven at 350 degrees for about 5 minutes to toast back up.
Recipes to Try Next!
If you love Olive Garden, check out my complete collection of Copycat Olive Garden Recipes!
Did you make this recipe? FANTASTIC. Please rate the recipe below and be sure to tag me on social when you share a photo on social – I love seeing what you’re up to in the kitchen!
Olive Garden Breadsticks
Ingredients
- 1 ½ cups very warm water
- 1 packet instant yeast
- 2 tablespoons honey , or sugar
- 3-4 cups flour, more for kneading
- 2 tablespoons olive oil
- 3 teaspoons salt
- 6 tablespoons salted butter, melted, see note
- 2 teaspoons garlic powder
Instructions
- Preheat oven to 400 degrees.
- In a large bowl (or the bowl of a stand mixer) stir together water, yeast, and honey (or sugar). Rest for 10 minutes to let the yeast activate. It should rise and foam.
- Stir in 2 cups flour, olive oil, and salt.
- Gradually mix in more flour (1 1/2-2 cups) until you have a soft, shaggy dough.
- With flour-dusted hands, transfer the dough to a floured surface and knead for 2-3 minutes.
- Place the dough in a greased bowl, cover with a towel, and allow to rise for 10 minutes.
- Divide dough into two equal parts. Divide each half into two equal parts again. Continue to do this until you have 16 equal-sized pieces of dough.
- Roll each into a log about 10 inches long and place 2-inches apart on a greased baking sheet.
- Bake for 5 minutes. Meanwhile, stir together melted butter and garlic powder.
- After 5 minutes, brush with half of the garlic butter and return to oven for 6-8 minutes until golden. (They will continue to brown a little more after you pull them out of the oven so don't over-bake them).
- Brush with remaining garlic butter and serve.
Notes
Nutrition
Nutrition information is automatically calculated, so should only be used as an approximation.


These were good, but I think next time I’ll use less salt than the recipe calls for. I even used unsalted butter and they were still a little too salty.
What type of flour did you use for this recipe?
All purpose flour is called for.
Curious as to how close these taste to the real thing can someone let me know?
I made your utah fry bread. I followed exactly, and let me say amazing. I am going to attempt your garlic bread sticks. Thank you so much for recipes.
Forgot to give 5 stars
They taste great but take longer than it says to make
The science doesn’t make sense, yeast needs time to do it’s thing, activate 10 mins yeah, but only a 10 min rise??
It’s instant yeast. That is the point of instant yeast. It does not take hours to work.
I baked as directed for the first 5 minutes then pulled them out, letting them cool. Should I transfer to freezer if I want to finish baking them tonight? If I do transfer to freezer should I let them thaw prior to baking?
Does one packet of yeast mean a 1/4 oz? (canadian)
Yes, that should be correct!
it looks so good but my dough is not rising. my yeast was good
Hi! I was just wondering if you had a picture of what the dough is supposed to look like (soft, shaggy?