Red Velvet Cheesecake Bites
This post may contain affiliate links. Please read our disclosure policy.
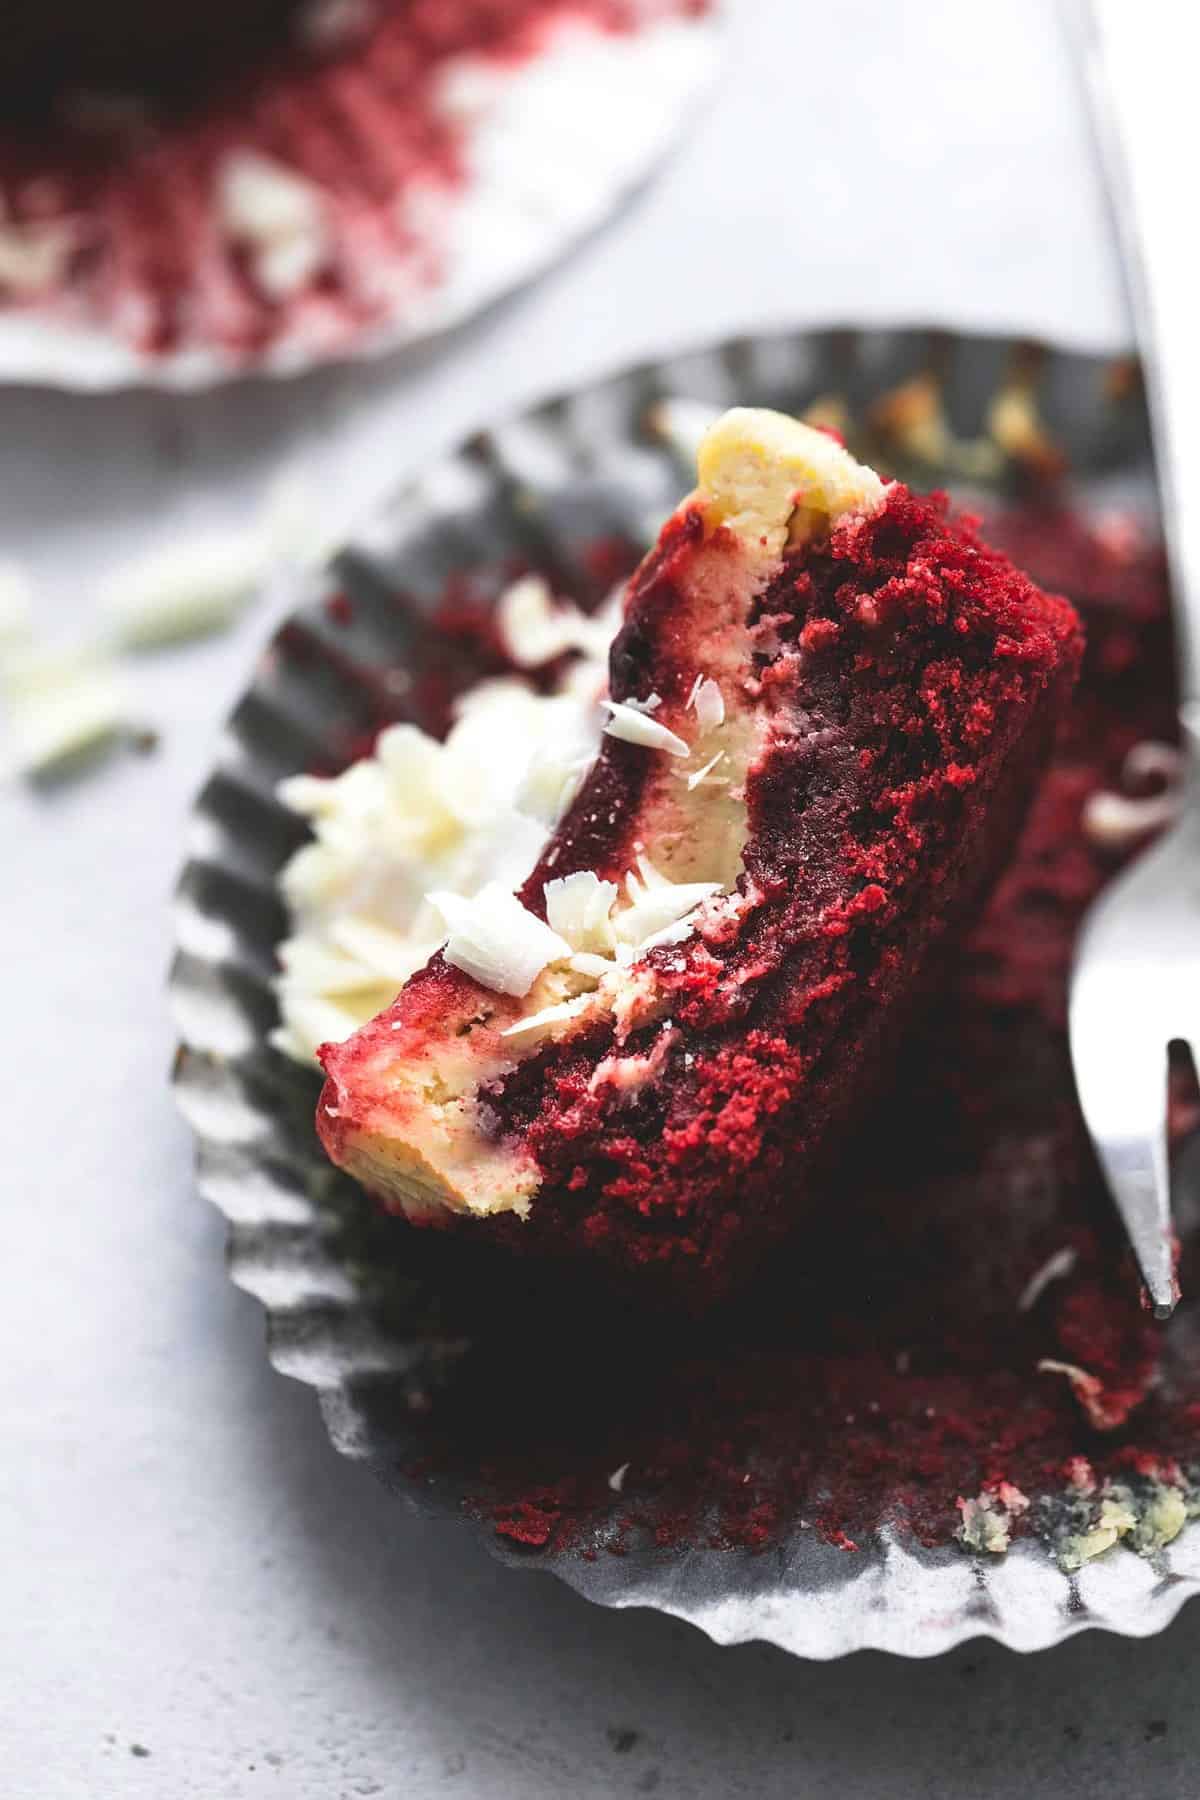
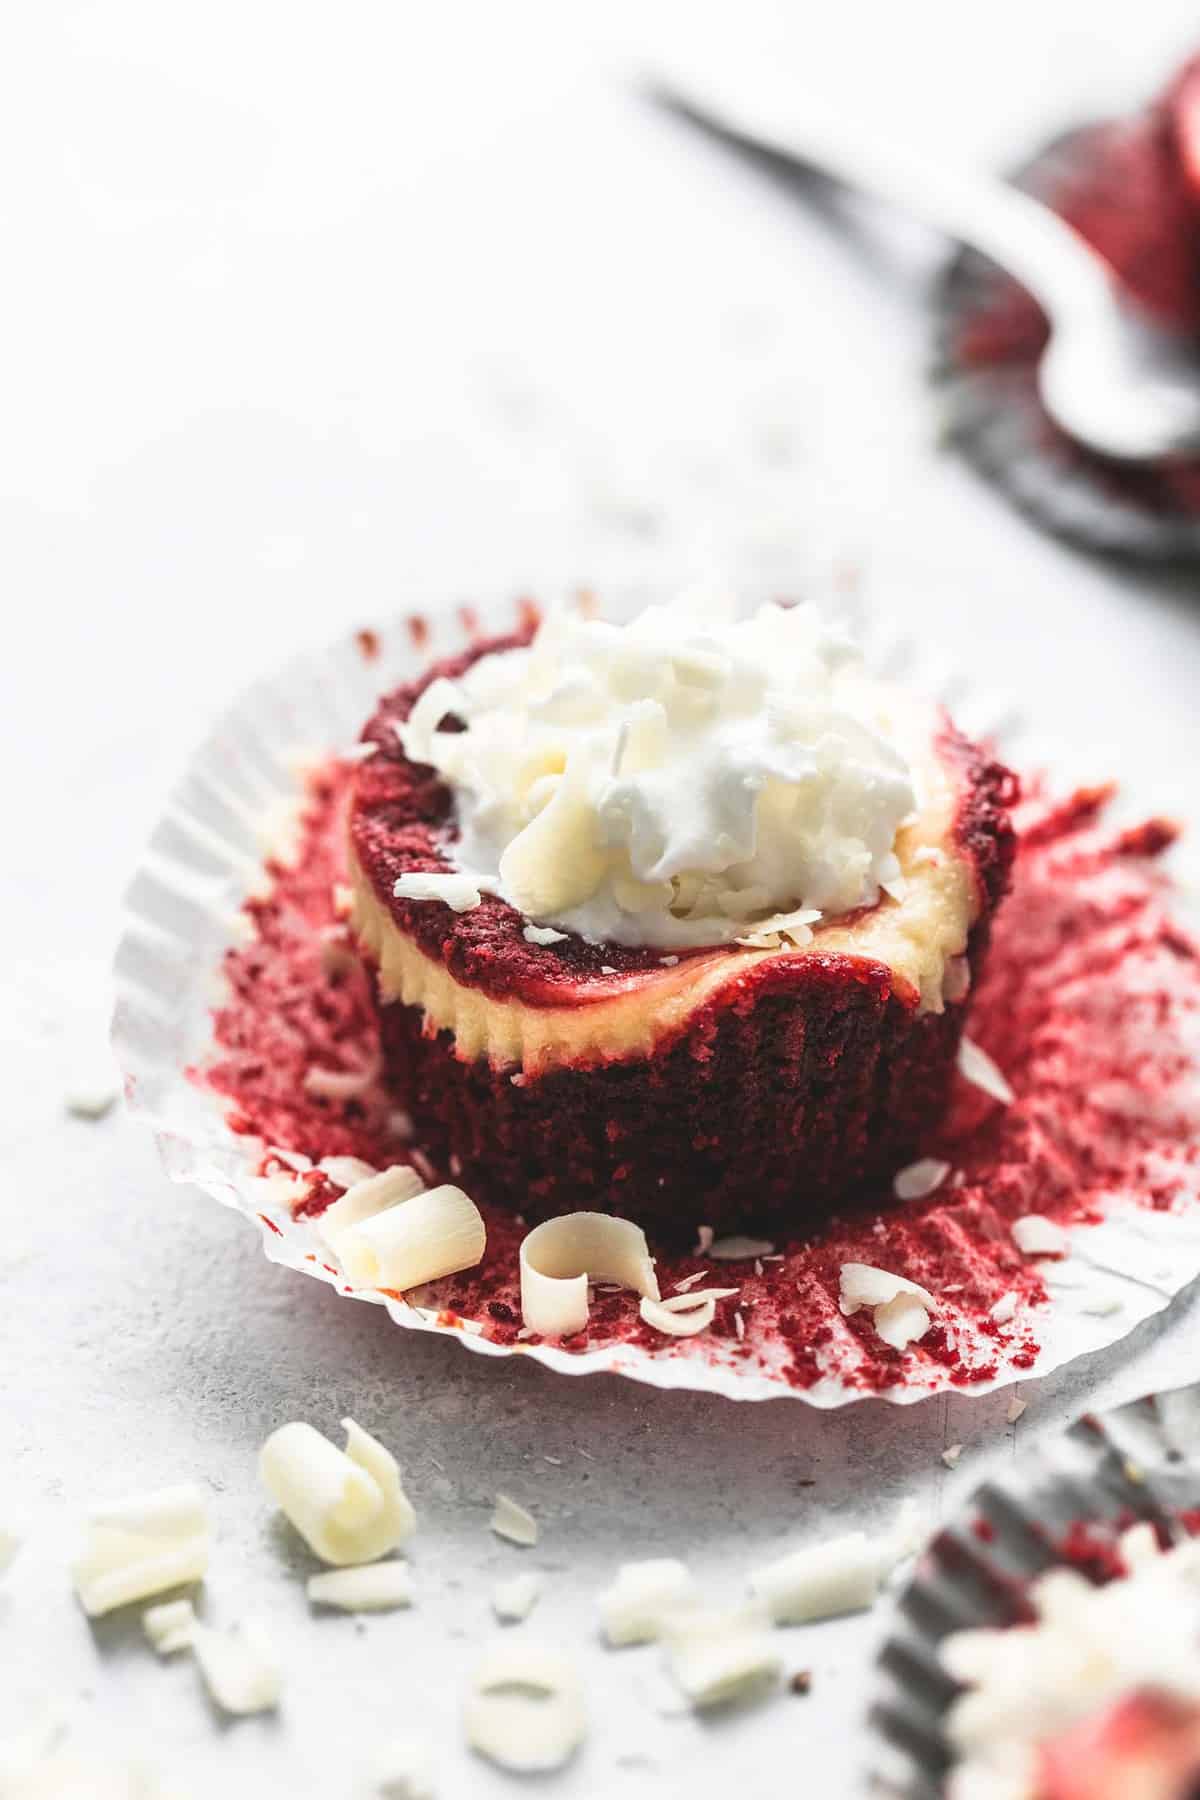
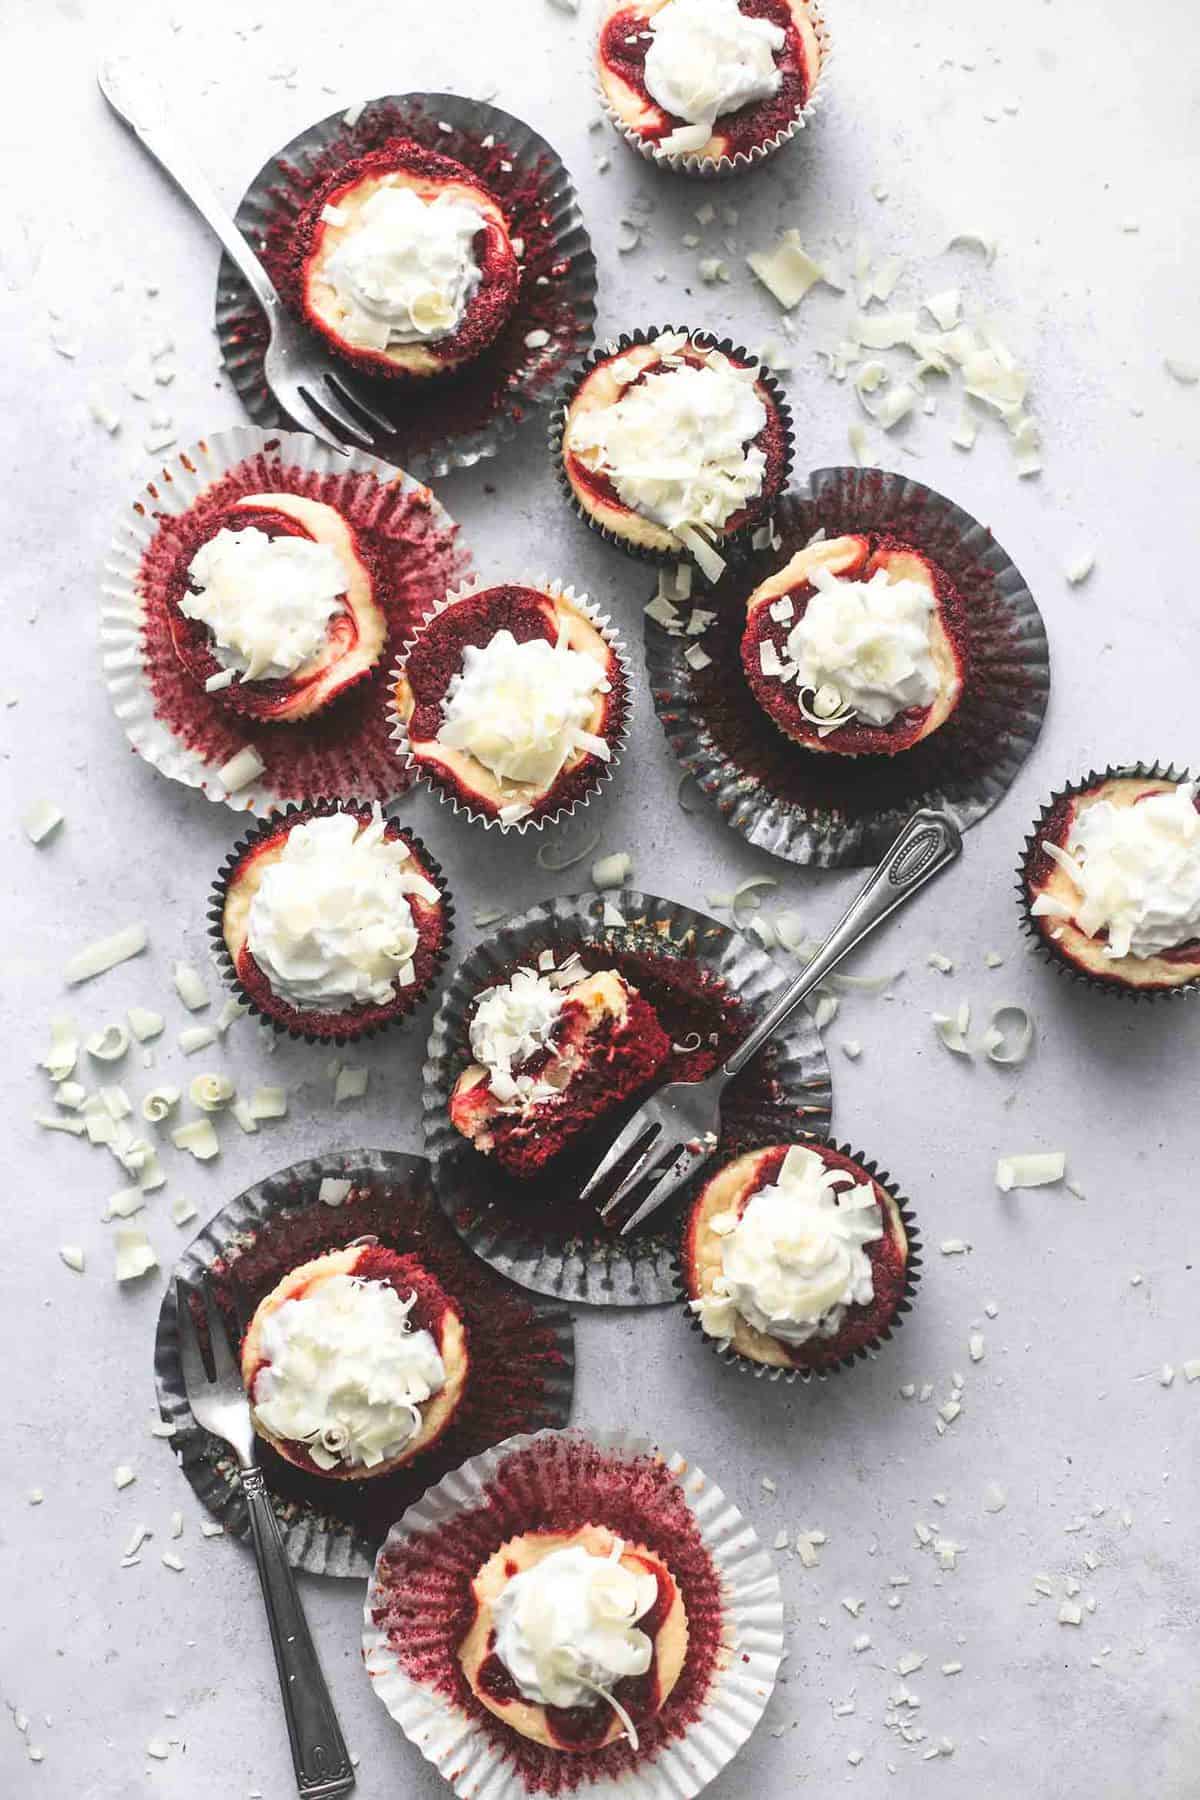
Silky smooth, rich and creamy Red Velvet Cheesecake Bites with whipped cream and white chocolate shavings. These decadent beauties are super elegant and impressive, yet crazy easy to make!
Still needing to curb that sweet tooth after these Red Velvet Cheesecake Bites? Try BEST Ever Super Chewy Gooey Brownies, Cookies Butter Chocolate Chip Cookies, and Carrot Cake Bars with Coconut Cream Cheese Frosting.
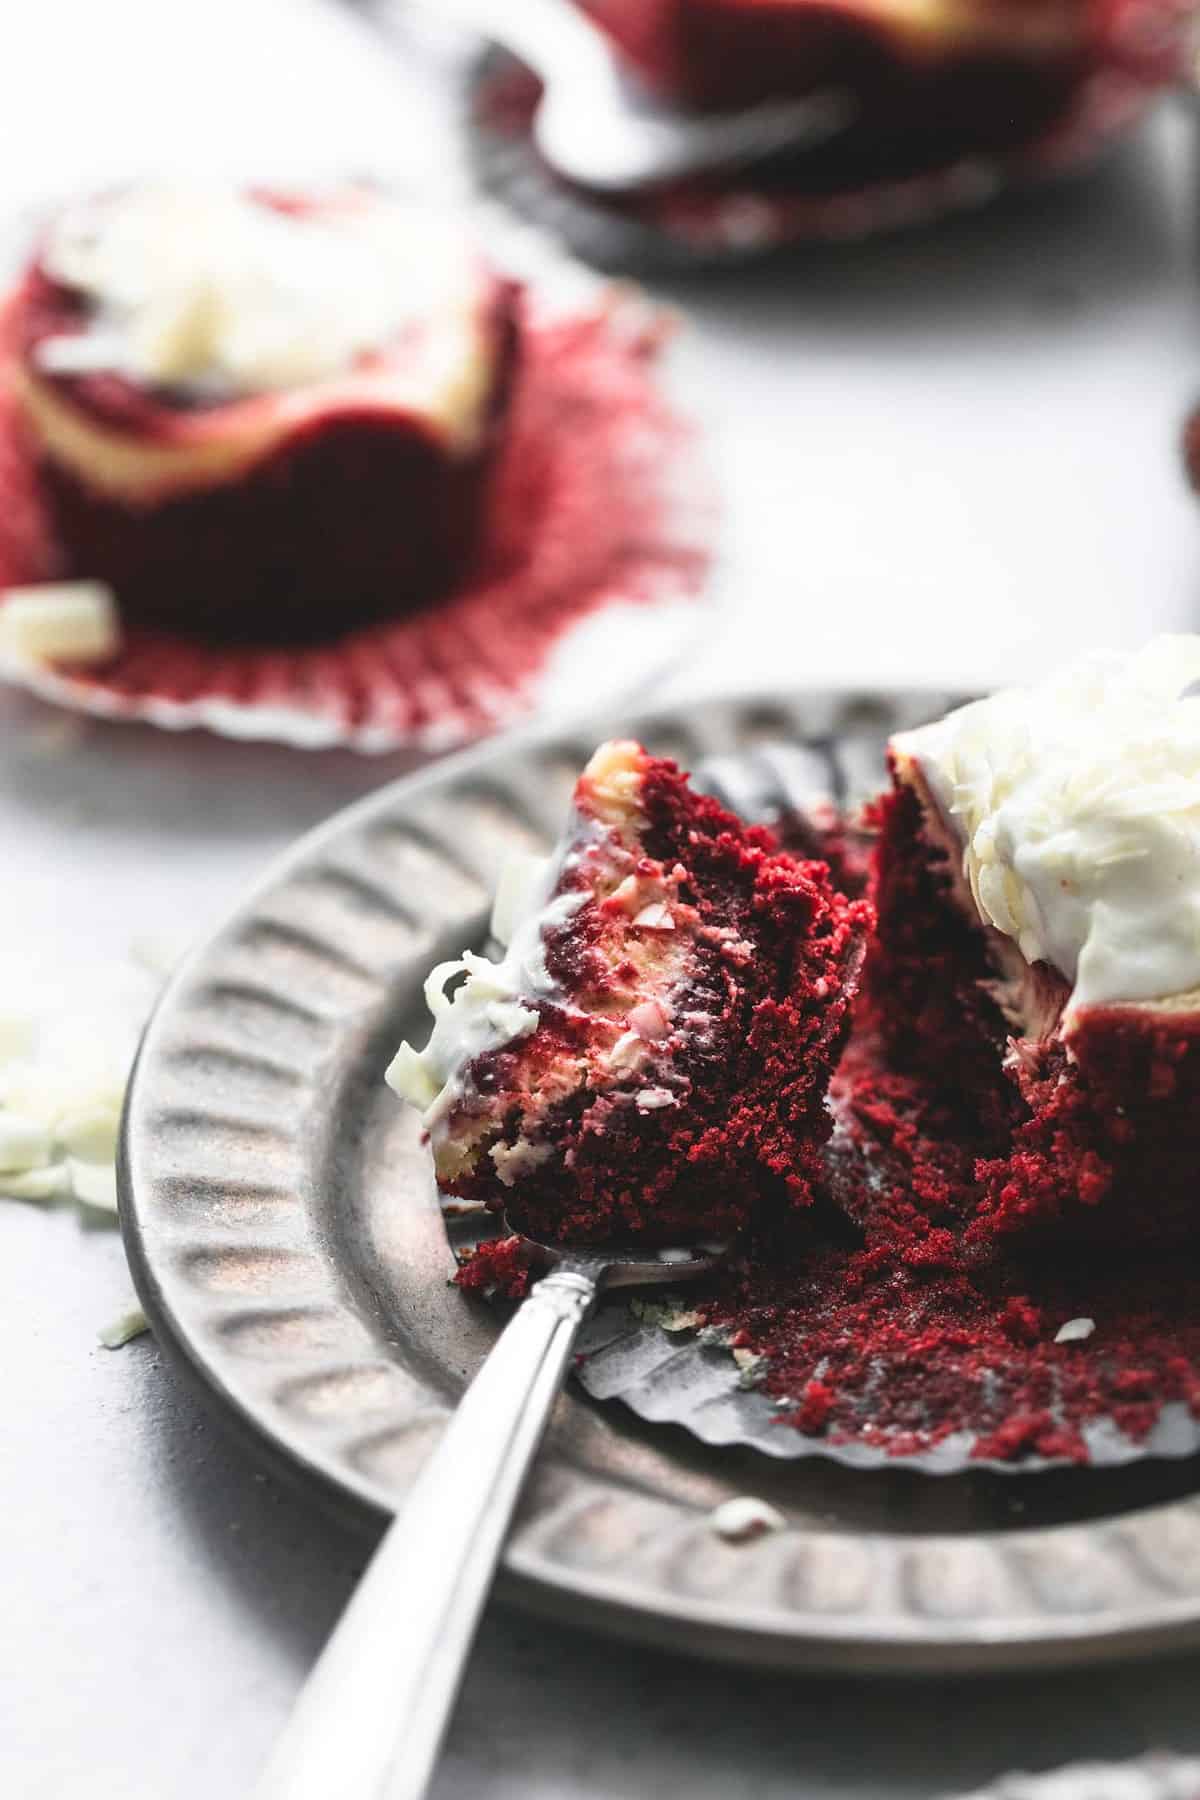
Have you ever heard the phrase “Nothing tastes as good as the first bite”? I think it’s meant to be a way for dieters or people who don’t want to overindulge to talk themselves out of too much dessert. It’s a good phrase. I mean, that first bite is everything. But then again, that second bite, well, that can also be pretty darn delicious too. By the third, you might as well forget it, I’m eating the entire thing.
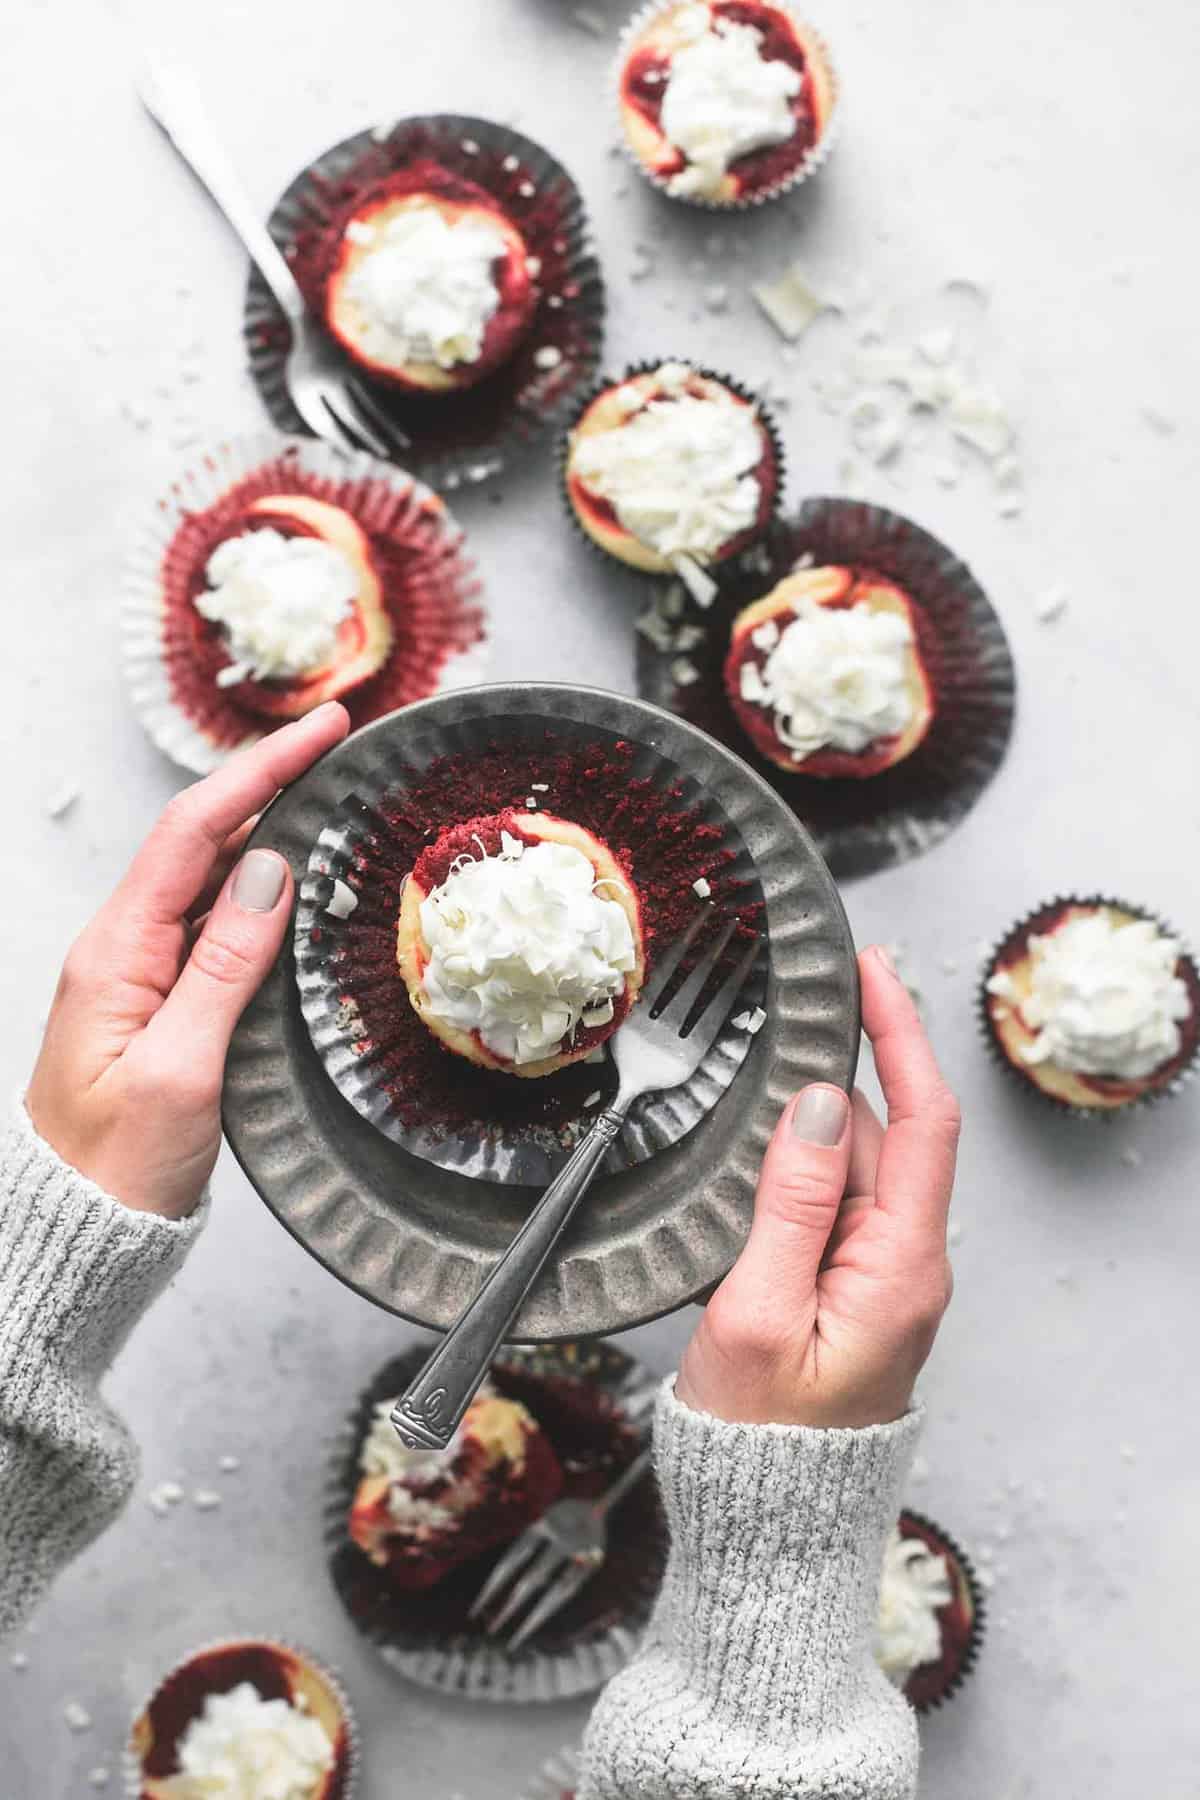
That’s why I love making dessert “bites.” Small desserts like these Red Velvet Cheesecake Bites are a good compromise. You get to eat an entire dessert and yet not overindulge (that is, if you can stop yourself at just one). I like to make desserts like this not only for the restraint part but also because they make great treats to bring to parties, bake sales, to welcome new neighbors, as hostess gifts at dinner parties…these work for just about any occasion where you want to bring a little sweet something, something.
In addition to making and gifting these tiny little treats, they are also good to have on hand for the kids when you don’t want them eating too much dessert. We like treats around here of course, but sometimes too much sugar before bedtime isn’t exactly…ideal.
Since I’ve always been a sucker for anything red velvet, I couldn’t help but incorporate that into my mini-cheesecake mix. So creamy and soft and decadent and smooth, these bites have been my go-to indulgence for quite a while now. I can only say I’m sorry for not sharing them with you sooner. I meant to, but whenever I went to take a photo of them, they had all but disappeared. This time, I made them while everyone was sleeping and the hubby was out of the house. I only had myself to account for and boy did I show some restraint!
What is Red Velvet Cake?
Although the origins of red velvet cake are somewhat of a mystery, the recipe can be found as far back as the 1940s. Even though there are hundreds, if not thousands of red velvet variations in existence, the essential gist still remains. A good red velvet anything is part food coloring, part texture, and part cream cheese frosting.
For this version, we have your red color, of course, then the moist, chewy, velvety texture from the brownie batter. Instead of cream cheese frosting, though, I just went ahead and incorporated cheesecake. That way, you get all the flavors you want from red velvet cake in one delicious bite.
Expert Tips and Customizations
As there are many variations on red velvet cake including this one, I think that you should feel free and customize it to your liking (and then report back to me what you made, because I love this in all forms!). Some other ways I’ve made these bites include:
- As bars! The ingredients are the same, but instead of making bites, pour the batter as directed in a greased and parchment lined baking sheet or baking pan. (Remember though, the smaller the pan, the thicker the bar, and the longer they will have to cook.)
- As full-sized treats. If you don’t want to mess around with bites and want the whole dessert, make as instructed in a regular muffin tin instead of a mini one.
- If red isn’t your thing (or someone is allergic to red dye), leave it out. You’ll still have all the velvety and cheesecake parts without the red and that is just as delicious!
- Top with mini chocolate chips to aid in the “mini” theme. Right before you put them in the freezer, sprinkle 4-5 mini chips on top and press down slightly. Then freeze as instructed.
- Top with mini chocolate chips right out of the oven and let them melt. Help them along with a toothpick or small knife if needed. Now, you’ve added an extra layer of chocolatey goodness to your bites.
- You could also just as easily make the brownie batter from a box if you are in a hurry or don’t have some of the brownie ingredients on hand. I won’t tell.
More Tasty Dessert Recipes
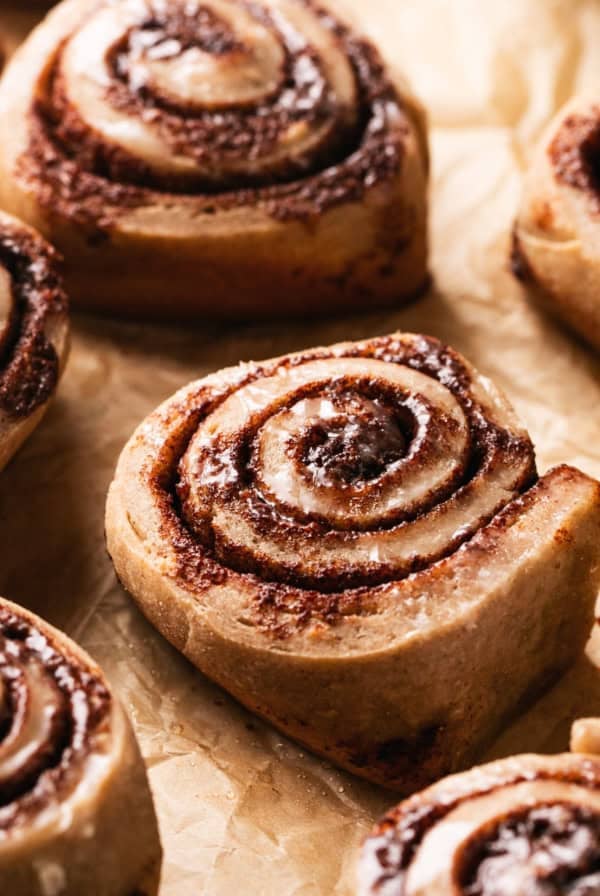
- Cinnamon Roll Ups
- Easy Homemade Pie Crust
- Peach Crisp
- Red Velvet Cookies
- Gingerbread Whoopie Pies
- S’mores Donuts
- Red Velvet Cake
Did you make these Red Velvet Cheesecake Bites? YAY! Please rate the recipe below!

Red Velvet Cheesecake Bites
Ingredients
- 2 eggs
- 1/2 cup butter, melted
- 1 cup sugar
- 2 teaspoons vanilla
- 1/4 cup unsweetened cocoa powder
- 1/8 teaspoon salt
- 1 tablespoon red food coloring
- 3/4 teaspoon vinegar
- 3/4 cup flour
Cheesecake Layer
- 8 ounces cream cheese, softened
- 1/3 cup sugar
- 1/2 teaspoon vanilla
- 1 egg yolk
- whipping cream and white chocolate shavings for topping, optional
Instructions
- Preheat oven to 350 degrees and line a mini muffin tin with 12 paper cupcake liners.
- In a small bowl whisk eggs and set aside. In a large bowl combine melted butter, sugar, vanilla, cocoa, powder, salt, red food coloring, and vinegar and mix well. Mix in whisked eggs. Stir in flour until just incorporated. Spoon into prepared cupcake liners being sure to reserve about 3 tablespoons of the batter for later.
- In a medium bowl cream together cream cheese and sugar. Beat in egg yolk and vanilla on high speed for 2-3 minutes until mixture is smooth. Spoon cheesecake filling into the cupcake liners on top of the brownie batter.
- Drop about 1/2-1 teaspoon of brownie batter on top of the cheesecake layer and use a toothpick to gently create a swirl.
- Bake for 14-16 minutes until cheesecake is almost set (it should still wiggle a bit when the pan is jostled and the edges and top should not be browned) then allow to cool in the muffin tin for 15-20 minutes before transferring to fridge or freezer to chill. Once chilled, store in airtight container in the fridge up to 3 days before serving cold topped with whipped cream and chocolate shavings if desired.
Notes
Nutrition
Nutrition information is automatically calculated, so should only be used as an approximation.


Are you supposed to use a mini muffin tin?
Yes, but if you don’t have one you can make them in a regular sized muffin tin 🙂 the recipe has been updated to be more clear.
I love to cook and experiment with new recipes. I will try it the way you suggest. It is not like I do. thank you for sharing. It will be better than what I do.
fnaf world
How many calories are in each of these
Hi Hannah! I don’t have the calorie count on hand, but you can easily find it by using MyFitnessPal. They have an awesome tool that allows you to input a recipe URL into it and it will generate all the nutritional facts for you, including calorie count.
I don’t know what to say really what you share is so good and helpful to the community, I feel that it makes our community much more developed, thanks.
How long can you freeze the Red Velvet cheesecake bites?
Hi Sharon- I haven’t had these frozen beyond a couple weeks but my guess would be up to 2 months if stored properly. Make sure you wrap the cheesecake tightly with aluminum foil or plastic freezer wrap, or place in heavy-duty freezer bag.
Hi, You mentioned how this could be made in bar form. DO you know APPROXIMATELY how many bars this can make.
Depends on what size sheet/pan you use! The bigger the pan, the thinner the bar. Keep that in mind! But also, the bigger the pan the more bars you get.
this recipe says it makes 12, but is that 12 rEGULAR size cupcakes? How many minis would it make? Thank you!
It is meant to make smaller/mini cheesecake bites!
HI. IN step #2, you said to set the whisked eggs aside but never mentioned what to do with it afterwards. Is it before adding in the flour or with the flour?
Thank you for pointing out that error! It is fixed now. It should be added in step 2 before adding the flour!
You say to whisk the eggs and set aside, but you don’t show where you incorporate theM. I am assuming it is into the brownie batter…
Hi Alicia- thanks for pointing that out. They should be added in step 2 before adding the flour. Thanks!